
How to Make the Perfect baked sweet potato slices
There’s nothing like a perfectly baked potato: crispy on the outside, tender and fluffy on the inside. Whether you serve it as a side dish or a main meal, the baked potato is a versatile comfort food. But if you’re looking to mix things up and add some variety to your meal, incorporating baked sweet potato slices into your dish can add a flavorful and nutritious twist. Let’s go through the steps to create the perfect baked potato and delicious baked sweet potato slices that complement any meal.
Table of Contents
Step 1: Choose Your Potatoes
For the classic baked potato, stick with russet potatoes. They’re starchy with thick skin, which crisps up beautifully in the oven while the insides turn light and fluffy. But don’t forget to pick up some sweet potatoes for a side of baked sweet potato slices. Sweet potatoes have a natural sweetness that caramelizes when baked, offering a slightly different texture and flavor from the standard potato. When thinly sliced and baked, they make a perfect side or snack with crispy edges and tender centers.
Step 2: Prep Your Potatoes and Sweet Potato Slices
Once you’ve chosen your russet potatoes, scrub them under cold water to remove any dirt. Do the same for your sweet potatoes before you slice them. For your baked sweet potato slices, cut the sweet potatoes into rounds about 1/4 inch thick. Make sure the slices are uniform in thickness so they cook evenly. You’ll want to pierce your russet potatoes with a fork several times to allow steam to escape while baking. No need to pierce the sweet potato slices; they’ll bake evenly as they are.
Step 3: Preheat the Oven
Preheat your oven to 450°F (232°C). While you can bake at a lower temperature for a longer time, this higher heat ensures that your russet potatoes will have crispy skin and fluffy inside. For the baked sweet potato slices, the higher temperature will also help them crisp up nicely, especially around the edges. If you’re making both in the same oven, be sure to place the potato and baked sweet potato slices on separate racks or baking trays for optimal airflow and even cooking.
Step 4: Seasoning for Maximum Flavor
Before baking, coat your baked sweet potato slices with a light brush of olive oil and a sprinkle of salt, pepper, and any additional seasonings like paprika or garlic powder for an extra kick. This step ensures that the slices will be crispy and flavorful. The russet potatoes, on the other hand, can go into the oven without seasoning at first. Later, during the last 10 minutes of baking, you’ll brush them with olive oil and sprinkle with salt to finish them off.
Step 5: Bake
For the russet potatoes, place them directly on the oven rack to allow air to circulate, baking them for 50-60 minutes. The higher temperature will help the skin crisp up without drying out the insides. For the baked sweet potato slices, arrange them in a single layer on a baking sheet lined with parchment paper. Bake them for about 25-30 minutes, flipping halfway through to ensure both sides crisp up. Keep an eye on the sweet potato slices during the final few minutes, as they can quickly go from perfectly crispy to overcooked.
Step 6: Add the Finishing Touches
After about 50 minutes, check your russet potatoes. They should feel soft inside when pierced with a fork or knife, and the skin should be nicely crisp. If you’re using a meat thermometer, the internal temperature should read 205°F-212°F. For the baked sweet potato slices, they should be golden brown around the edges and tender in the center. If they need more crispness, leave them in for an additional 5 minutes, but be careful not to burn them.
About 10 minutes before your russet potatoes are done, pull them out and brush them with a light coat of olive oil. Sprinkle generously with sea salt and pop them back into the oven for the final crisping. This same olive oil trick helps the baked sweet potato slices achieve that irresistibly crunchy texture while locking in flavor.
Step 7: Serve Your Baked Potato and Baked Sweet Potato Slices
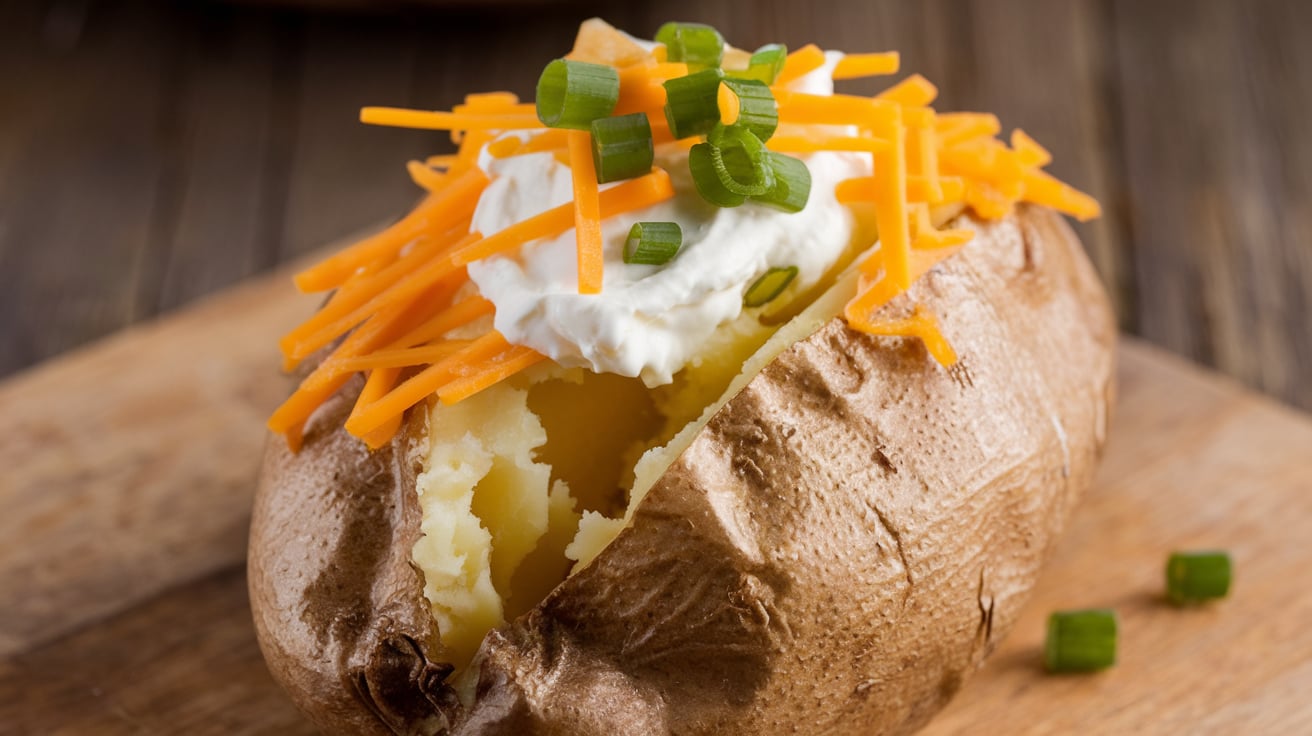
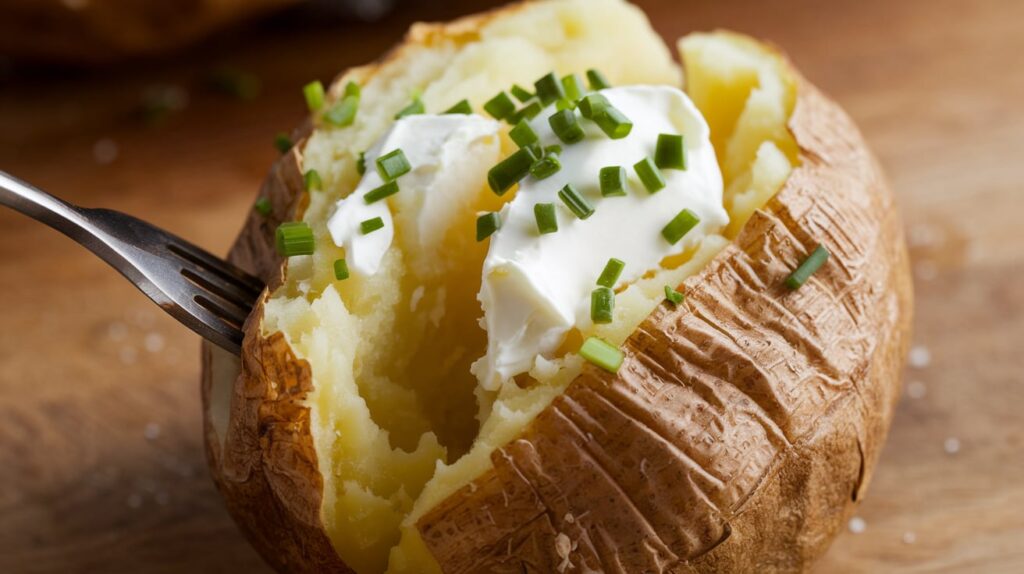
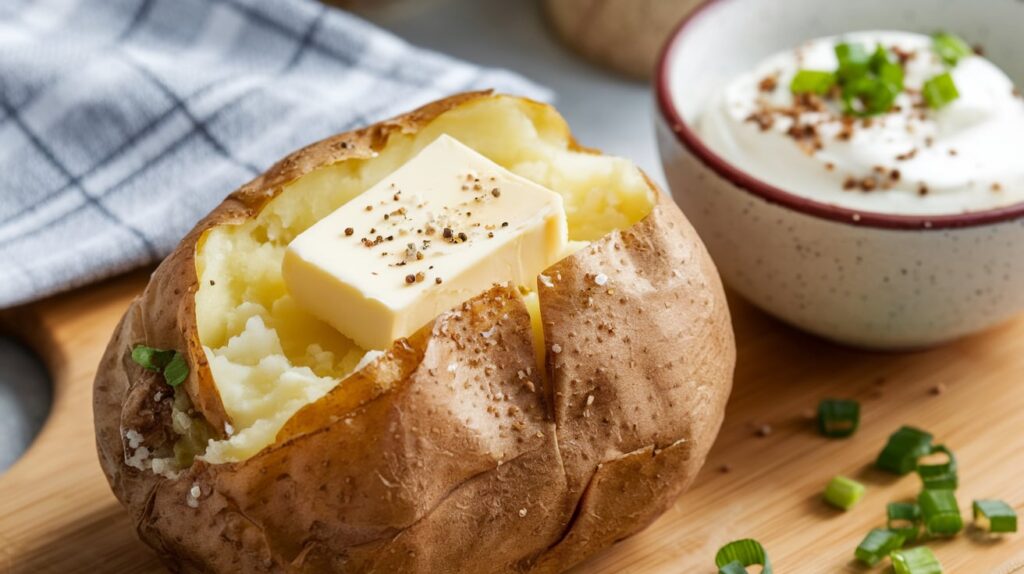
Once everything is done, it’s time to serve. Use a fork to split open your baked russet potato, fluff up the inside, and add your favorite toppings. Whether you prefer butter, sour cream, or cheese, the baked potato is a perfect canvas for all kinds of flavors.
Now, for the baked sweet potato slices, you can serve them as a side or even a snack. They pair wonderfully with dips like guacamole, hummus, or a simple yogurt-based dip. You can also sprinkle them with a little cinnamon or chili powder for a sweet-spicy contrast that elevates their natural sweetness.
Step 8: Storing and Reheating
If you have leftovers, both baked potatoes and baked sweet potato slices store well. Let them cool to room temperature before placing them in an airtight container. Store them in the refrigerator and use them within 3-5 days.
To reheat, place your russet potatoes back in the oven at 350°F for about 15-20 minutes to restore their crispy skins. For the baked sweet potato slices, you can also reheat them in the oven or air fryer to regain that perfect crispiness. The air fryer, in particular, is a great option for quickly reheating baked sweet potato slices while keeping them crispy.
Step 9: Enjoy the Versatility
Once you’ve mastered the technique for both baked potatoes and baked sweet potato slices, the possibilities for meals are endless. Baked russet potatoes can be dressed up with traditional toppings like butter, cheese, and bacon or used as a base for heartier meals with chili or pulled pork. On the other hand, baked sweet potato slices are versatile enough to be served as a side, a snack, or even incorporated into salads. Their slight sweetness and crispy texture make them a hit with any meal.
Final Thoughts
Perfecting both baked potatoes and baked sweet potato slices is easier than it seems. With the right temperature, preparation, and attention to detail, you can enjoy the best of both worlds. The contrast between the fluffy russet potato and the crispy baked sweet potato slices makes for a delightful combination on your plate. Whether you’re cooking for the family or meal-prepping for the week, this method ensures you get delicious, satisfying results every time.
There are no reviews yet. Be the first one to write one.


