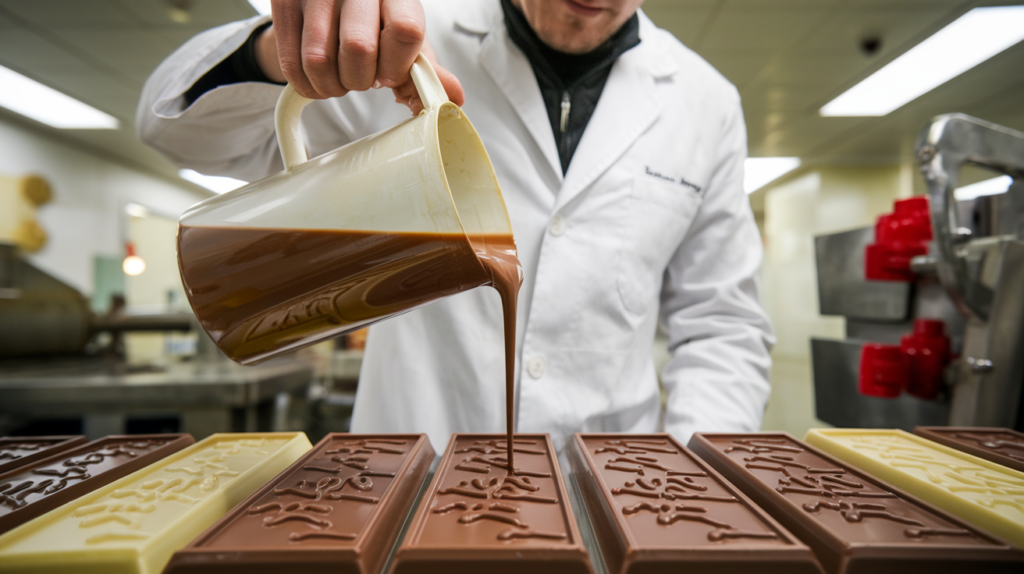
How to Make Wonka Chocolate Bars: A Magical DIY Recipe
Imagine unwrapping a chocolate bar so whimsical it transports you into a world of pure imagination. Whether you’re a fan of the Wonka movie (2023) or simply love the charm of creating something extraordinary, learning how to make Wonka chocolate bars at home is a delightful adventure. This guide walks you through every step, from choosing the finest ingredients to crafting a bar that’s as unique as Wonka himself. Let’s dive into the magic and create your very own masterpiece!
Table of Contents
What Makes a Chocolate Bar Truly “Wonka”?
Before you start, think about what makes a Wonka chocolate bar stand out. In the world of Charlie and the Chocolate Factory, Wonka’s creations weren’t just chocolate—they were experiences. They combined imaginative flavors, creative designs, and an element of surprise. Your homemade Wonka bars can capture the same magic by mixing fun ingredients, colorful decorations, and a touch of mystery.
Ingredients for Homemade Wonka Chocolate Bars
Here’s what you’ll need to craft your chocolatey wonder:
| Ingredient | Quantity | Notes |
|---|---|---|
| High-quality chocolate | 2 cups | Dark, milk, or white (your choice) |
| Colorful candy (sprinkles, gummies, etc.) | 1/2 cup | Adds a whimsical texture |
| Edible glitter or gold leaf | 1 tsp | For a magical “Golden Ticket” effect |
| Nuts (optional) | 1/4 cup | Choose from almonds, hazelnuts, or pistachios |
| Caramel or fudge filling | 1/2 cup | Optional for added decadence |
Pro Tip: High-quality chocolate makes all the difference! Look for bars with a higher cocoa content for rich flavor.

Step-by-Step Instructions for Crafting Your Wonka Bars
Step 1: Gather Your Supplies
Start by collecting the necessary tools:
- Chocolate molds (bonus points for whimsical shapes or golden ticket designs).
- Double boiler or microwave-safe bowl for melting chocolate.
- Spatula for mixing.
- Knife and cutting board if you’re chopping additional toppings.
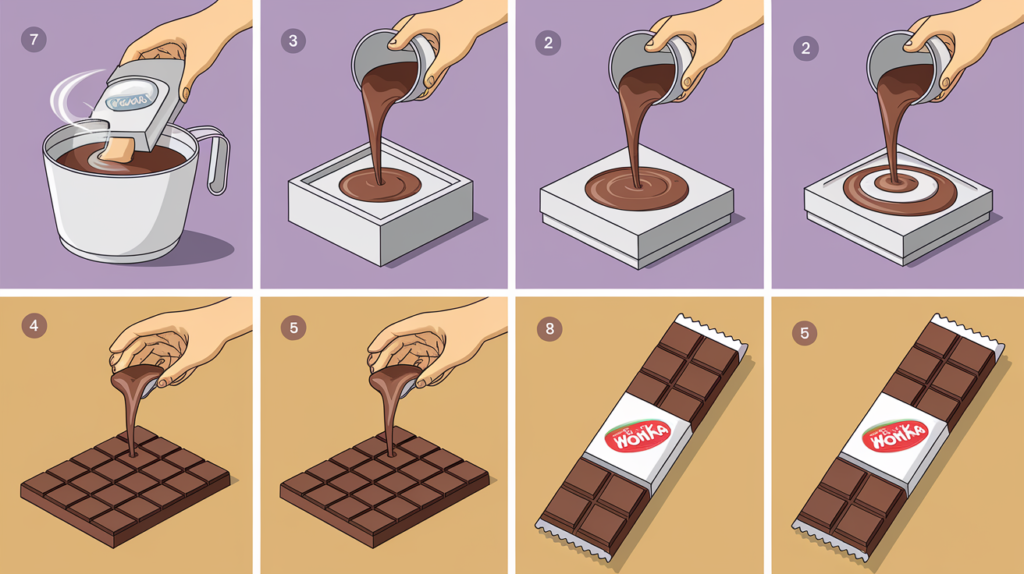
Step 2: Melt and Temper the Chocolate
Tempering chocolate is the secret to a glossy, professional finish.
- Break your chocolate into small, even pieces.
- Use a double boiler or microwave (in 30-second intervals) to melt the chocolate.
- Stir constantly to ensure smoothness.
Pro Tip: Keep the temperature between 88°F and 90°F for the best results.
Step 3: Add Your Magical Ingredients
Now it’s time to make your chocolate bars stand out.
- Pour a thin layer of melted chocolate into your mold.
- Add your chosen mix-ins—gummies, sprinkles, or nuts—for bursts of flavor and texture.
- If using a filling, spoon a small amount of caramel or fudge into the center, then cover it with more chocolate.
Step 4: Set and Decorate
Place the molds in the refrigerator for 30-45 minutes to set. Once firm, remove the chocolate bars from the molds and get creative with decorations!
- Use edible glitter or gold leaf for a dazzling effect.
- Drizzle melted white chocolate for a contrasting design.
- Wrap the bars in gold foil for a true Wonka-inspired look.

Tips for Customizing Your Wonka Bars
Your Wonka chocolate bars should be as unique as you are! Here are some ideas to make them even more special:
- Vegan-Friendly Bars: Use dairy-free chocolate and fillings for a plant-based version.
- Flavor Twists: Try adding unexpected ingredients like chili powder for a spicy kick or lavender for a floral touch.
- Interactive Fun: Let kids decorate their bars with colorful candies and edible stickers.
Frequently Asked Questions
Can I Use Any Type of Chocolate for My Wonka Bars?
While you can use any chocolate, high-quality varieties yield the best flavor and texture. Opt for brands with 70% cocoa or higher for a richer taste.
How Do I Achieve the “Golden Ticket” Look?
Edible gold leaf or metallic food sprays can give your bars a dazzling finish. These are readily available online or at specialty baking stores.
How Long Do Homemade Chocolate Bars Last?
Your chocolate bars will stay fresh for up to two weeks if stored in an airtight container in a cool, dry place.
Conclusion: A Taste of Pure Imagination
Congratulations! You now know how to make Wonka chocolate bars that are delicious and magical. By combining creativity with quality ingredients, you’ve crafted a treat perfect for gifting, sharing, or indulging yourself. Don’t forget to wrap your bars in golden foil and imagine yourself finding the coveted golden ticket!
Call to Action: Share Your Wonka Creations!
We’d love to see your masterpieces! Share your Wonka chocolate bars on social media using #DIYWonkaBars. Let your creativity shine and inspire others to join in on the fun.
goog nice
good
good nice
good good
good


